As we head into summer, is your irrigation system ready to go or do you need a little help? It can be tough to know when to do-it-yourself or hire a pro. “Some sprinkler issues can be simple fixes, others are tougher tasks,” says Alexis Deasy, senior marketing communications manager at Toro. “There are a number of resources for DIY-ers, but if you have any concerns, hiring a pro is the way to go.”
Here are a few sprinkler system maintenance scenarios that might help you decide.
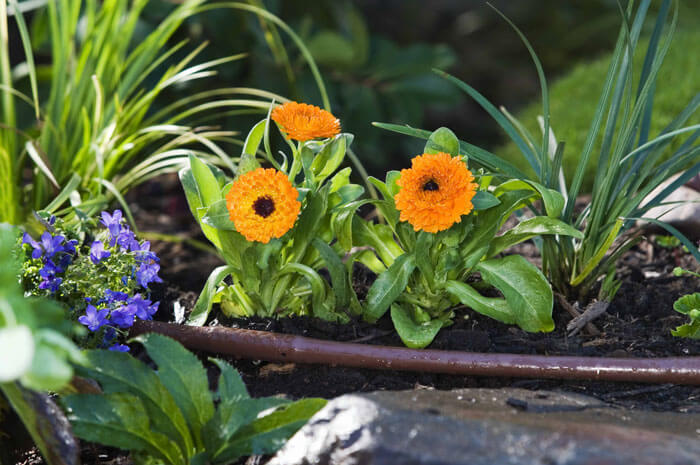
Your Sprinkler Won’t Pop Up
There are several reasons why a sprinkler head won’t pop up. One of the most common is an easy fix. If just one sprinkler in the zone isn’t popping up, it may be covered by overgrown grass or debris. Shut the system off, remove the debris then turn the system back on. If that doesn’t fix the problem, dirt may be trapped between the riser and the sprinkler cap. This can cause the sprinkler to jam. With the system running, tap the top of the sprinkler with your foot help loosen any dirt. Repeat this step a few times until the riser pops up easily.
If there is water leaking out of the sprinkler it could indicate a bad seal, or damage to the sprinkler head. If this is the case, you’ll need to replace the sprinkler. (More on this topic below.)
If several sprinklers in the zone won’t pop up, you could have a water pressure issue. Check to make sure all of your valves in your system, including the main shutoff valve, are fully open. If that doesn’t fix the problem, it may be time to call your local irrigation professional. They’ll look at other issues such as water pressure changes from in your water provider, a faulty pump or valve concerns.
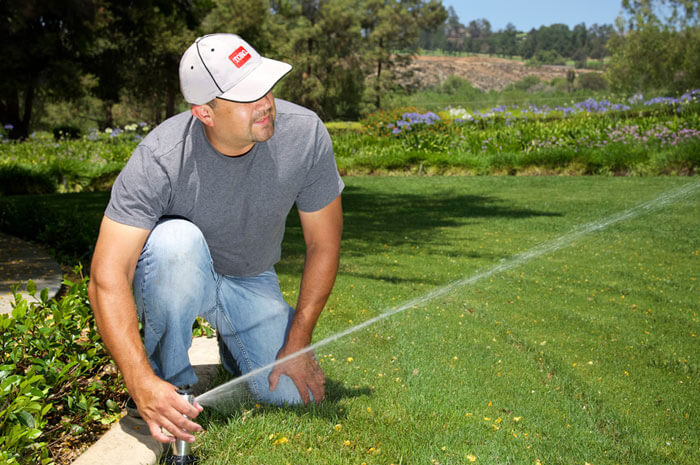
Replacing Sprinkler Heads
Replacing damaged or inefficient sprinkler heads can be an easy DIY project if you’re willing to do a little digging. Once you have a new, replacement sprinkler head, the task requires clearing the area around the sprinkler, unscrewing the old sprinkler head, and replacing it with the new model. Toro’s 570Z Pro Series sprinklers offer several choices in pop-up sprinkler styles with varying heights, spray radius and patterns. These easy-to-install sprinkler heads feature a patented Zero Flush seal that prevents water waste when your system starts up, professional-grade seals that protect the sprinkler from dirt and debris and a ratcheting-riser that makes arc adjustment easier. The 570Z Pro Series sprinklers come with a pre-installed nozzle that can easily be switched out to match your needs.
Once you have the new head in place, it’s time to make the position and arc adjustments to make sure the sprinkler is reaching the area that needs to be watered.
If the task seems too daunting, it’s time to call in a professional. Irrigation pros can help you pick the right sprinkler head for the job and adjust the arc and radius for precision watering. They can also help you to maximize efficiency and water savings by choosing the right nozzle for your sprinkler.
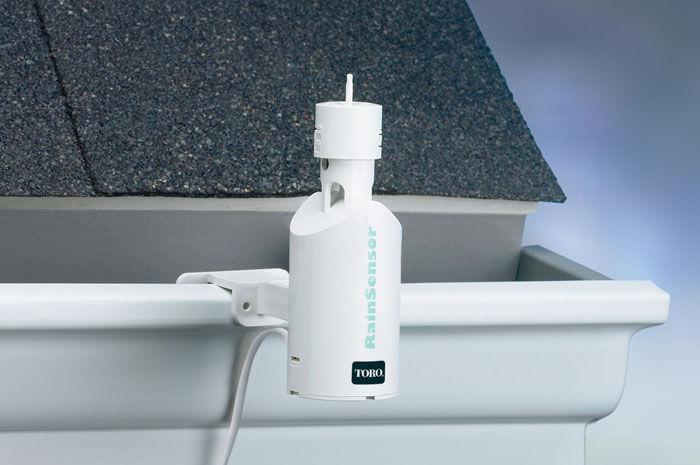
Installing a New or Upgraded Irrigation Controller
If your irrigation controller or timer is more than five years old, it’s time to consider an upgrade. Newer timers can be more intuitive to program and often have added features that make your entire system more efficient and water smart.
Installing the new timer yourself requires a bit of electrical work, including turning off your power from the breaker box, disconnecting wires for each zone and reattaching them to your new timer, and mounting the new box. As with any electrical project, care should be taken to make sure you follow all installation instructions.
Working with a professional irrigation installer can help make sure you choose a timer with the right number of zones, the best programing interface, and the features you want.
Need more information on DIY irrigation projects? Find it here.