Can’t wait to get started testing out your new Toro Two-Stage Snow Blower? After some quick assemblage, you’ll be able to experience pristine performance, power, and durability, unparalleled to any other snow blower on the market. Watch our step-by-step video tutorial on how to assemble your Toro Two-Stage Snow Blower, so you can be at ease all winter long.
Video Transcript
So you just got a Toro Two-Stage Snow Blower. Excellent choice. If the words “some assembly required” make you nervous, don’t worry we’re here to help.
Before you get started, be sure to read the operator’s manual for complete assembly instructions. For some of the steps, a picture really is worth a thousand words. So here are some tips.
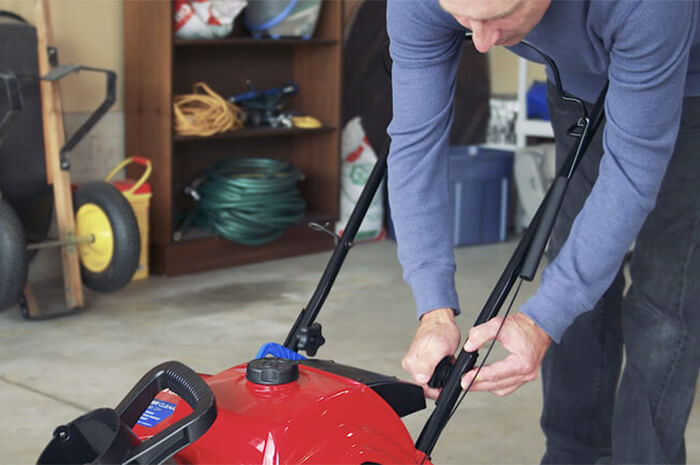
Step 1: Install the Control Rod
First, let’s install the control rod that connects the quick stick to the discharge chute. Rotate the quick stick so it’s straight up and centered. Then hold the blue trigger cap down and pull the lever all the way to the rear. Take the chute control rod and line up its flattened back end with the front end of the short rod on the quick stick assembly. These should nest together.
Now, insert the front end of the control rod into the gear cover opening at the back of the shoot. Make sure the rod slides all the way into the shoot gear. Align the holes in the nested rods and insert two carriage bolts through the short rod. Then insert the cable clip to support the deflector cable onto the front bolt and secure both bolts with lock nuts.
To check operation, hold the blue trigger cap down and rotate the quick stick. Moving the stick to the left or right should move the shoot in the same direction. Move the stick forward to lower the chute deflector and pull it back to raise the deflector. The shoot and deflector should lock in place when you release the trigger.
Step 2: Install Linkage for Traction Control
Next let’s look at how you install the linkage for the traction control. First connect the lower end of the speed control rod to the lower link arm. Insert the rod into the link arm so the bent end faces rearward, then install the washer and pin.
Next, shift the speed selector lever to the R-2 position and rotate the lower link arm to its full upward position. Then lift up on the rod and insert the trunnion into the hole in the speed selector. If the trunnion doesn’t fit in the hole, you can adjust it on the speed control rod until it does. Once is in place, secure the assembly with the washer and cotter pin.
Step 3: Adjust Tension Cables
Ok, now let’s look at how to adjust the tension cables. This should be done after the first two hours of operation, then once each year. The left-hand cable controls your machine’s traction. If the tension on this cable isn’t set correctly, the machine may not drive in the forward or reverse speeds and could even keep moving after you release the traction lever.
Here’s how to adjust it: Loosen the jam nut, then engage the traction lever and hold it in place. Then loosen or tighten the turnbuckle to adjust the spring length to 2 inches or 5 centimeters and tighten the jam nut.
Step 4: Right Hand Cable
Ok let’s move on to the right hand cable. This controls the auger and impeller and the adjustment procedure is pretty much the same. Once again loosen the jam nut, engage the right hand lever and hold it in place. Now loosen or tighten the corresponding turnbuckle to adjust the spring length to 2 and three-quarter inches or 7 centimeters and retighten the jam nut.
If make these adjustments and still experience any issues, see your authorized Toro service dealer. Your machine comes with engine oil in the crankcase, but be sure to check the oil level before starting up and add oil if necessary.
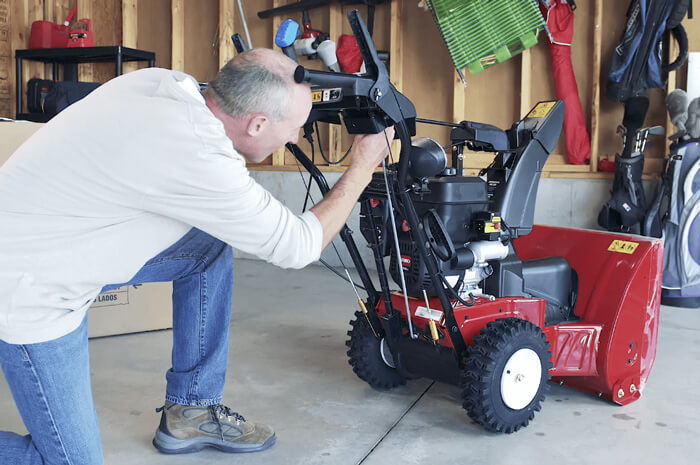
Step 5: Test Your New Snow Blower
Okay now you’re ready to test your new snow blower. Be sure to add Toro Premium Fuel Treatment to your fuel before you fuel up and only use the bare minimum of fuel for your test run. This is important because fuel can deteriorate over time and cause complications. Make sure your tank is dry when you store it so your snow blower will be ready to start right up when you need it most.
To Learn More or Watch More Videos head to Toro.com/helpcenter.