Just purchased your first Toro Single-Stage Snow Blower? Now all you need to do to get your machine up and running is some minor assembly. Don’t sweat it if this sounds intimidating. After watching this quick and easy video tutorial, you’ll be using your fully assembled Toro Single-Stage Snow Blower in no time!
Video Transcript:
So you just got a Toro Single-Stage Snow Blower. Excellent Choice. If the words “some assembly required” make you nervous, don’t worry, we’re here to help.
Before you get started be sure to read the operator’s manual for complete assembly instructions. For some of the steps, a picture really is worth a thousand words, so here are some helpful hints.
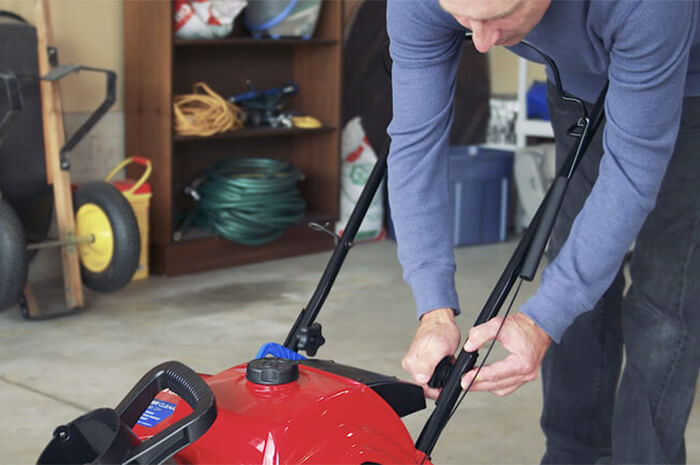
Step 1: Snow Blower Handle
Let’s start with the handle. Once you have this placed in its full upright position, be sure the bolts and washers are fitted correctly and tighten the handle knob securely. This is important because if the handle comes loose during operation you could strip the threads, making it hard and even unsafe to use your snow blower. Also make sure that the control cable is routed outside the handle and not pinched or kinked.
Step 2: Install the Discharge Chute
Ok, let’s install the discharge chute. This procedure may look a little different depending on the model you own, but the important thing is don’t over-tighten the screws or bolts that you used to attach the shoot to the machine. That could damage the shoot or keep it from turning freely. Some models also have a knob that holds the shoot in place during operation. Be sure to install that too.
Once everything’s assembled, you need to adjust the control cable. This is important because improper adjustment can really affect your snow blower’s performance.
Step 3: Adjust Control Cable
Here’s how to do it: With the engine shut off, move the control bar back toward the handle to remove the slack and the control cable. With the bar in this position, you should have a gap of 1/16th to 1/8th inches or 2 to 3 millimeters between the control bar and the handle.
Now this little bit of slack needs to be there so the rotor blades stop properly but if there’s too much slack or not enough you’ll have to adjust the cable. Move the Z-Fitting on the link to a higher or lower hole, whatever is needed to get the desired 1/16th or 1/8th inch gap between the control bar and handle be sure to recheck the cable. After the first hour of use since it may loosen up on a new snow blower. Then check it every year before the start of the season.
Step 4: Engine Oil & Testing New Snow Blower
Ok, let’s move on. Build the engine with oil following the instructions in your manual or our changing the oil video. Remember to change your engine oil after the first two hours of operation. This is really important to flush out any dirt or particles that may accumulate in a new engine.
Okay now you’re ready to test your new snow blower. Be sure to add Toro Premium Fuel Treatment to your fuel before you fuel up and only use the bare minimum of fuel for your test run. This is important because fuel can deteriorate over time and cause complications. Make sure your tank is dry when you store it so your snow blower will be ready to start right up when you need it most.
To Learn More or Watch More Videos head to Toro.com/helpcenter.